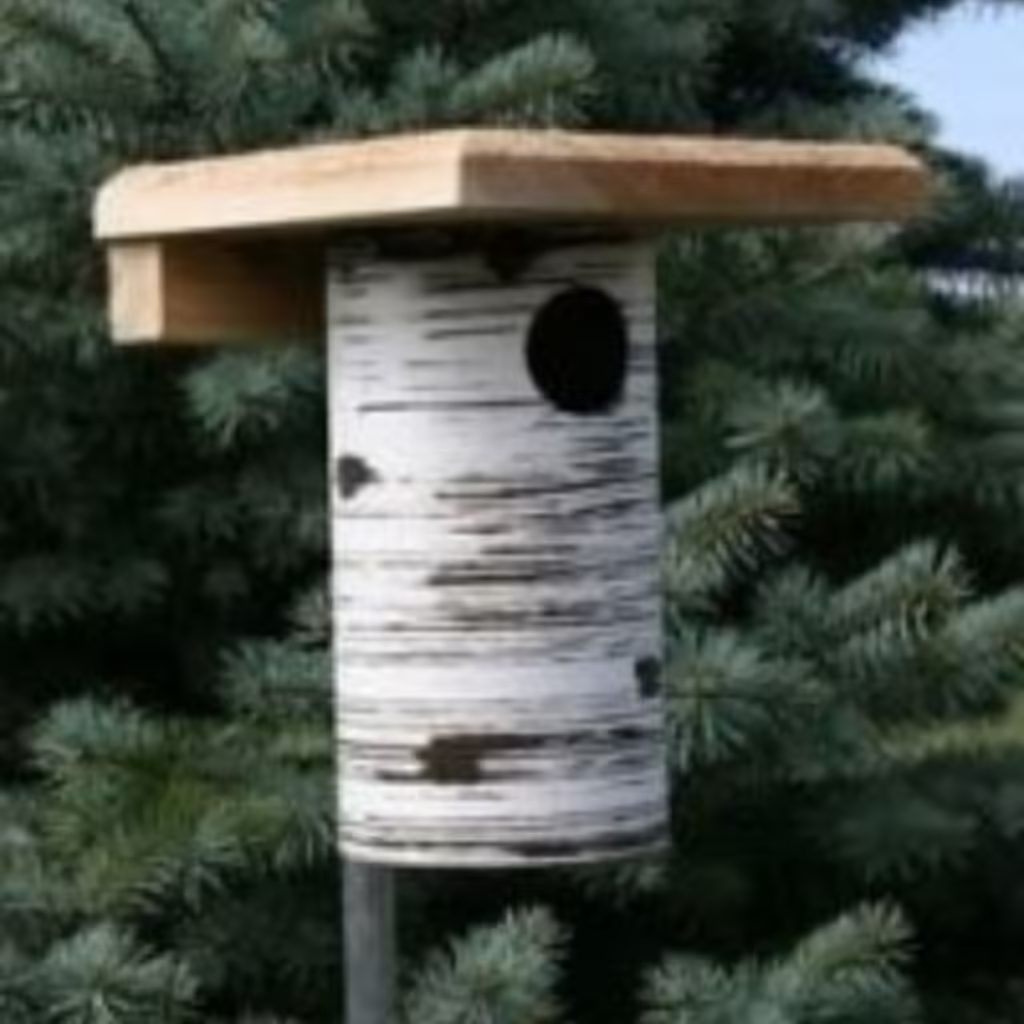
Attracting beautiful bluebirds to your yard is a treat for any bird enthusiast. One of the best ways to entice these colorful songbirds is by providing them with the perfect home – a cozy little birdhouse built just for them. If you’re feeling handy, you can make your own bluebird house following these easy step-by-step instructions.
Also Read: Eastern Bluebird vs Western Bluebird: Know The Difference
Materials Needed
Before you begin, you’ll need to gather the following materials:
– 1″ x 6″ x 6′ cedar fence planks (2)
– 1″ x 4″ x 5″ cedar wood for roof (1)
– 1″ x 4″ x 4″ cedar wood for floor (1)
– 1 1/4″ exterior grade screws
– 1 1/2″ hole saw drill bit
– Water-based exterior stain/paint and brush (optional)
– Wood glue
– Sandpaper
– Saw (hand saw, miter box, or circular saw)
– Drill
– Measuring tape
– Pencil
Cutting the Wood
1. From one of the 1″ x 6″ cedar planks, cut two pieces to 16″ in length for the front and back panels.
2. From the other 1″ x 6″ plank, cut two pieces to 5″ in length for the side panels.
3. Cut the 1″ x 4″ piece to 5″ for the floor.
4. Cut the 1″ x 4″ roof plank to 5″ x 6 1/2″.
Drilling the Entry Hole
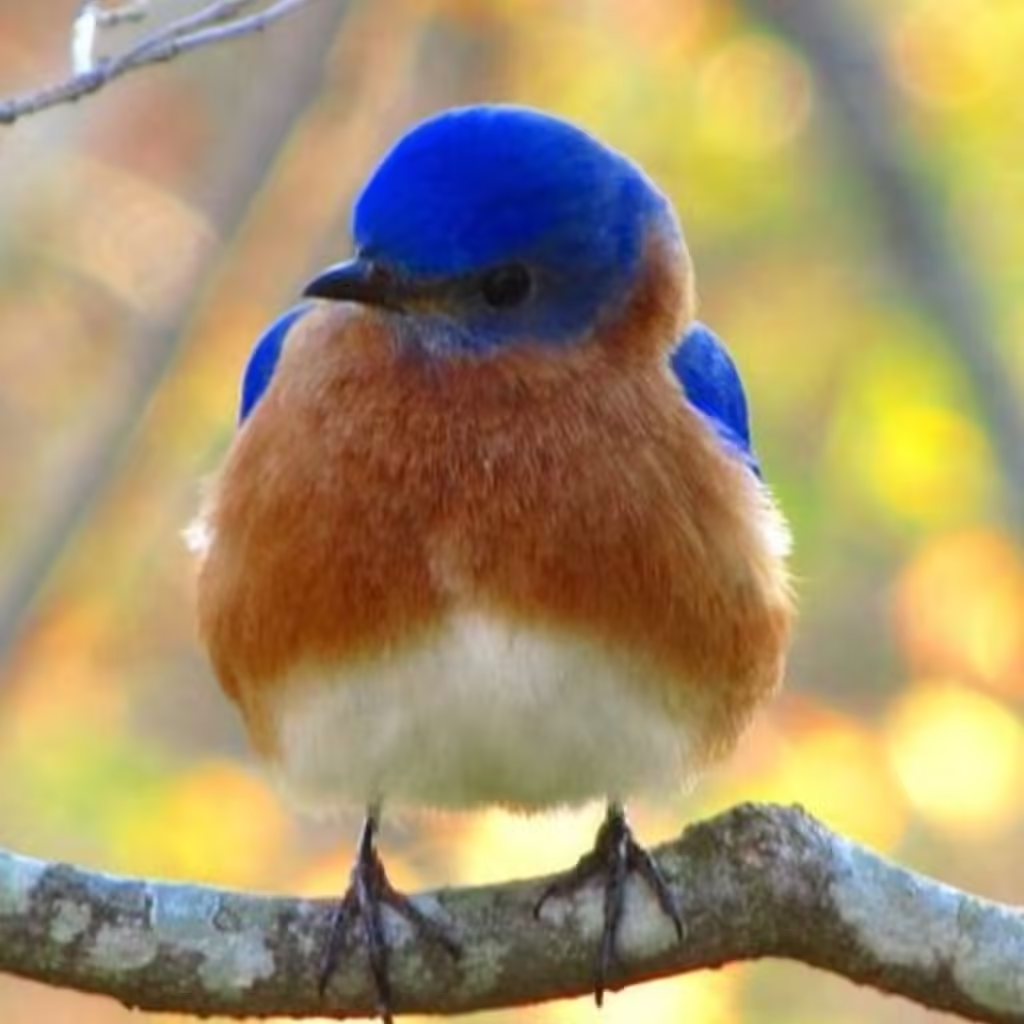
5. On one of the 16″ front/back panels, drill a 1 1/2″ diameter entry hole about 5-6″ from the floor. This hole size is ideal for bluebirds while excluding larger birds.
Assembling the Body
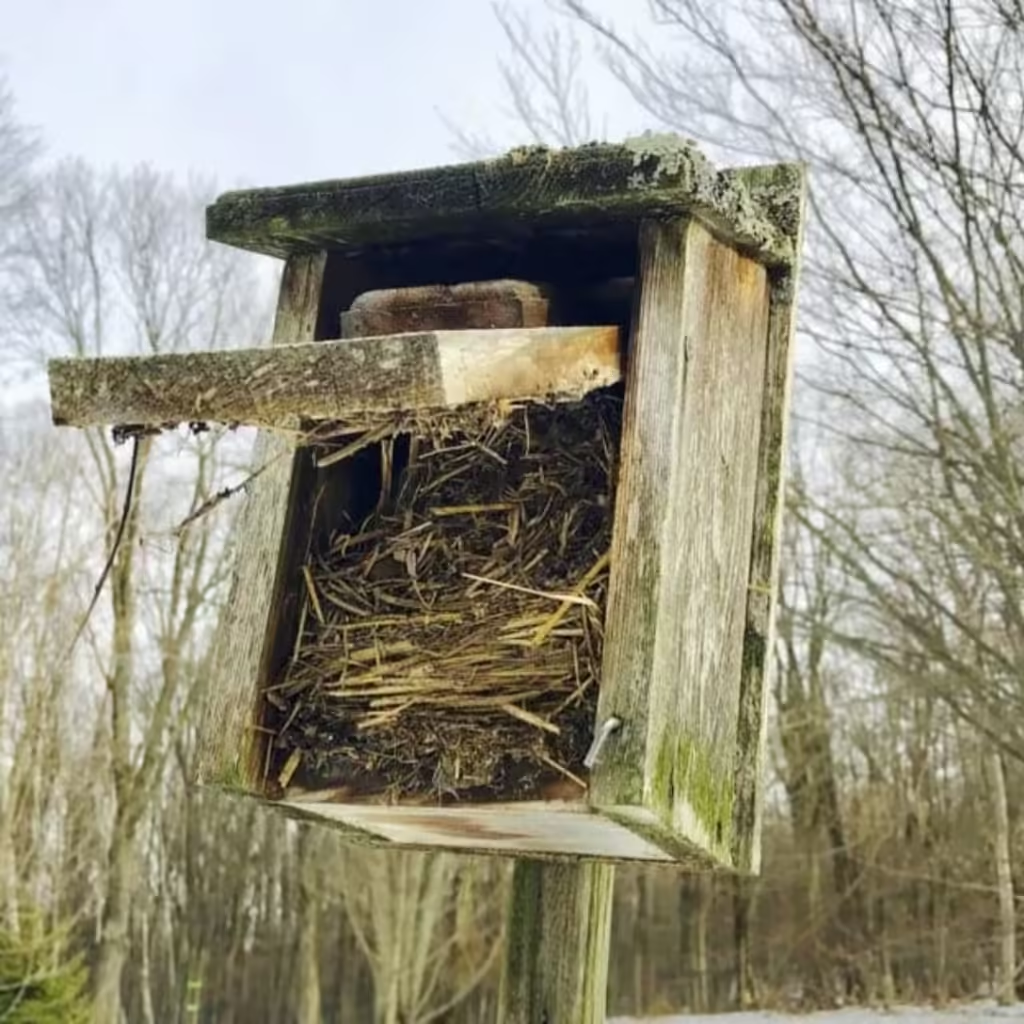
6. Apply a thin line of wood glue along the side and bottom edges of the back panel.
7. Position and attach the floor piece to the back panel first using 1 1/4″ exterior screws.
8. Next, glue and attach the two 5″ side panels into place on the back panel, creating a boxed corner.
9. Finally, glue and screw the second 16″ front panel into the side panels to form the full body of the birdhouse.
Building the Roof
10. Apply glue along the top of the side and front/back panels.
11. Center and attach the 5″ x 6 1/2″ roof piece using 1 1/4″ screws at an angle through the front and back roof overhangs.
Optional Ventilation and Drainage
12. For added ventilation, drill a few small 1/4″ holes toward the top of the front and back panels.
13. Drill 1/4″ drainage holes into the floor panel.
Finishing Touches
14. Use sandpaper to lightly sand any rough edges for a smooth finish.
15. If desired, apply a water-based exterior stain or paint suitable for outdoor use.
Proper Placement
16. Mount the completed bluebird house on a 5-6 ft tall post or pole situated in an open area like a field or backyard.
17. Face the entry hole opening between an eastern to northeastern direction to avoid prevailing winds and precipitation.
18. Install any additional predator guards around the pole to deter climbing critters.
Also Read: Tips on How to Attract an Eastern Bluebird
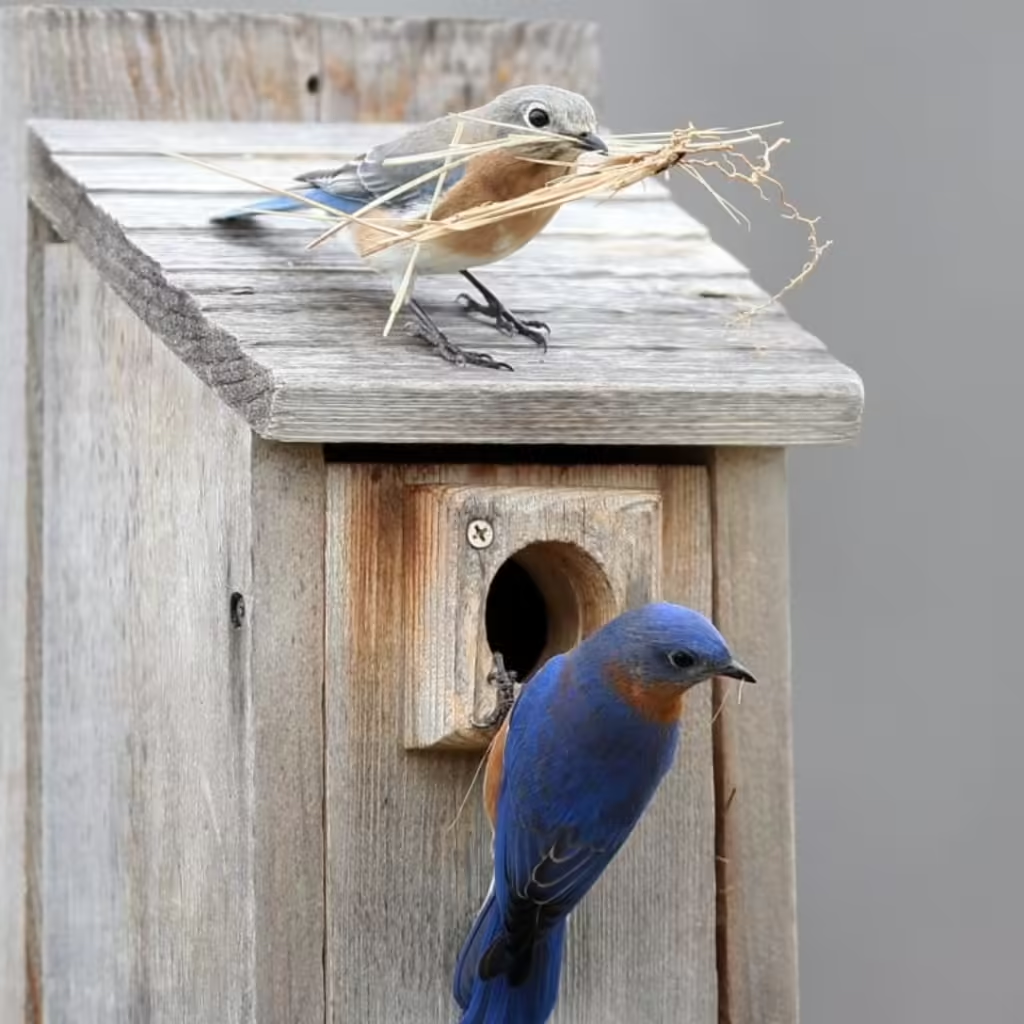
By following these instructions, you’ll have a delightful new home ready to attract nesting bluebird families for years to come! Monitor the birdhouse periodically and clean it out after each nesting season to maintain a fresh, hospitable abode.
Conclusion
With some basic woodworking skills and materials, building bluebird houses is an easy and gratifying project. Watching these beautiful blue backyard birds take up residence and raise their young in your handmade dwelling is a richly rewarding experience any birder will treasure.
Pingback: 11 Facts About Female Eastern Bluebirds | Pet Care Sensei